Next the hunt begins for a hard drive replacement. Using an original XT compatible drive is not really practical. Soo expensive and likely unreliable. Time to sacrifice originality for practicality. The received wisdom is to call for Flash! to save the day, Compact Flash to be exact. There are a number of things to consider here:
- Need to provide a more modern BIOS to access up to date devices
- Ideally Compact Flash, quiet and much lower power usage. Lets not forget that the PSU is rather old and needs to be treated with respect!
- 8-bit wide ISA adaptor
Note the last point here. Being an XT clone the Commodore PC10 only has 8-bit ISA slots. If it was an AT then I would probably have done for a 16-bit ISA multi-IO card out of the draw. Then connected to a hard drive (perhaps even the one I found unused in the case)
Doing some Internet hunting there seemed to be loads of options. One that caught my eye was this:
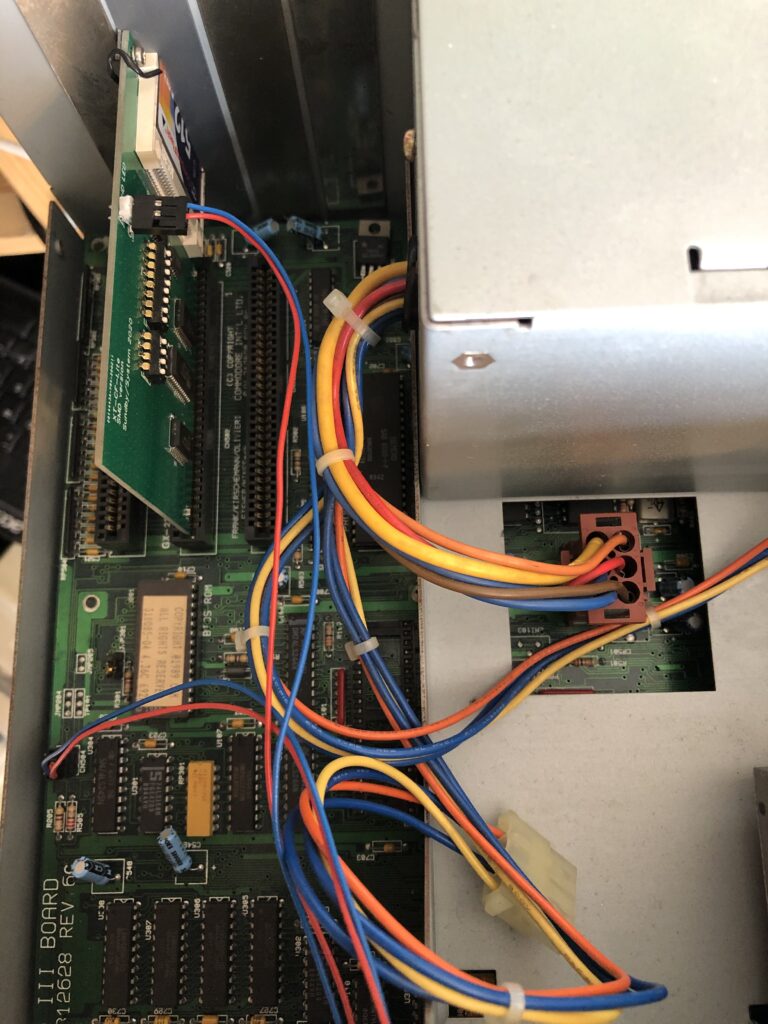
The guy makes up batches of the boards and I was lucky enough to get one quickly and really quite cheaply. It is an SMC surface mount reworking of an original XT-CF adaptor design and looks great. The board comes with a ton of switch options to set various addresses but luckily the default setting worked fine for me… Well sort of…
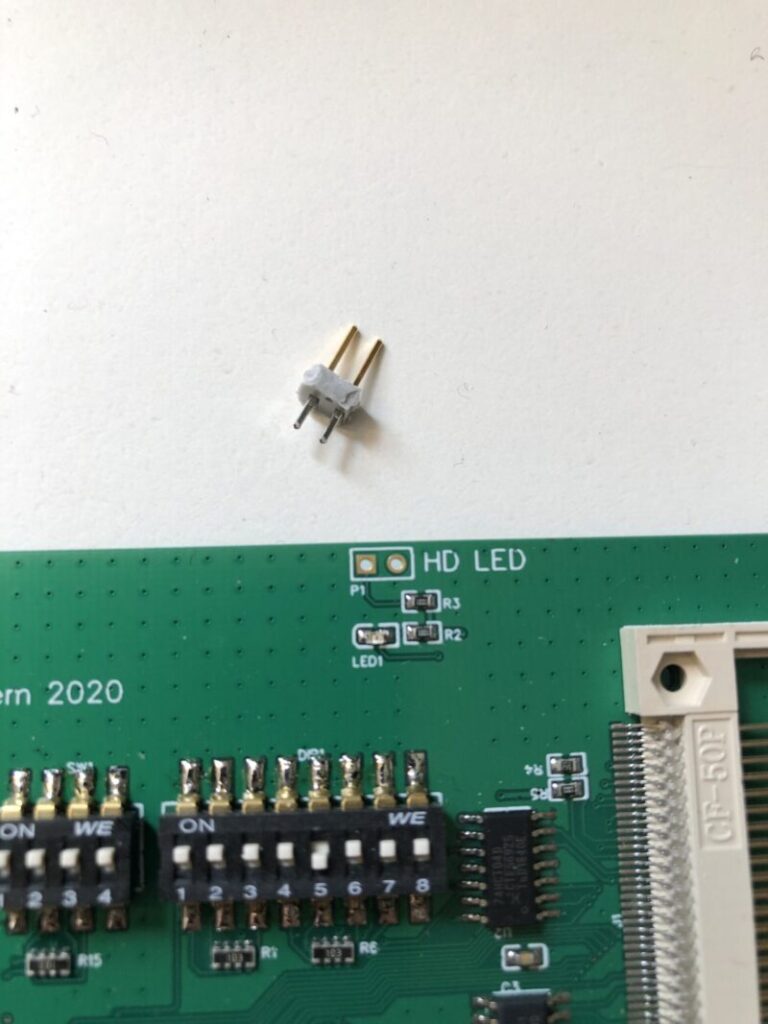
Soldered a connector for the the HDD activity LED and mounted it in the case:
Found an old 512Mb card, plugged it all in the gave it a try…
But first you have to disable the onboard controller:
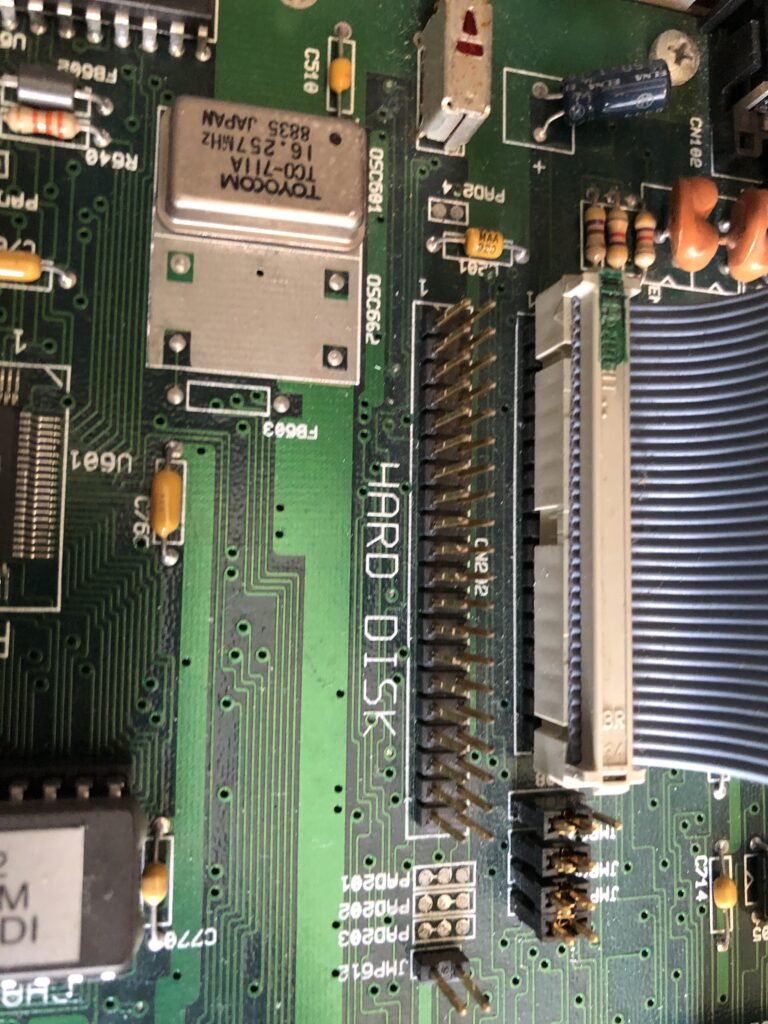
Find and change the jumper JMP 208 – enables built-in XTA hard disk controller: enabled (jumper on pins 1-2 – position A) or disabled (jumper on pins 2-3 – position B) It is the one shown here next to the ribbon cable. It is the only one with 3 pins in a row. Effectively shift it out of line with the other two to disable the onboard controller.
Hmmm… No dice… It was never going to be that easy! With the XT-CF-Lite bios you can boot from A by pressing the A key on bootup. So booking into DOS 3.2 the CF card is visible and it is possible to partition the drive. With DOS 3.2 you need to keep the primary partition to 32Mb and make it Active of course. So all formatted with system files copied and everything looking good… But no luck. Just will not boot. Hangging on the Booting from C>C prompt… Annoying…
To print the picture here. I went through about 40 X 5 1/4″ floppy discs, formatting and checking them with a massive 360K! I got 4 discs out of that which work! I managed to burn DOS 3.2 to boot into and copy across some of the specialist PC10 software:
speed.exe – Sets the speed of the CPU
setclock.exe – Read or write the stored RTC values out of and into the system
Booting, fdisking, formatting round and round but no luck is the PC10 tide turning against me? No… There must be a better way… Perhaps the format of the CF card is just messed up so lets try using a PC to set everything up.
I used Virtual Box to build a simple DOS machine. Decided to go up to MS-DOS 5.0, a good half way house for older machines within the full blown 6.22. Created the new machine and installed 5.0, getting it all working and nice. That was using a standard Virtual Box VDI file as the hard drive image, which I configued with a fixed size of 64MB (I know! Massive right?)
Then shutdown the VM and converted the VDI to an IMG. Drop to your Virtual Box install directory and run the command:
VBoxManage clonehd--format RAW dosmachine.vdi pc10hdd.imgNow you should have a nice img file that you can use. Next you need to write this to the Compact Flash card. Plug it into a USB reader and download Rufus. You can use this to write the IMG file to the CF. At this point in theory the card should be bootable.
I plugged it into the Commodore, turned it on and BOOM! It worked perfectly!
Booking nicely into MS-DOS 5.0!
I then used fdisk to add an extended partition of the rest of the 512Mb card and a logival drive D:
Formatted it and now have a 64Mb boot volume and a 448Mb second drive. Nice!
What great is that I then switched off the PC10 and plugged the CF into my PC, copied over a bunch of games and utilities onto the card then restored that into the PC10. That saves some SERIOUS time. Using a LapLink, Serial connection, ZIP drive of a 360K floppy would all take ages… If only this sort of thing was available back in the day!
The screen is a bit blurred but loving the old games:
Commander Keen, Space Quest 1, Mega Traveller, Phantasie III, RoadWars, Indy 500
Nice!
So what is next for the PC10-III? Well still need to sort out the horrible keyboard nightmare and add a mouse to the system. More to come