I recently purchased an automatic RS232 data switch. It is nice with lots of flashing lights etc. The issue is that is only supports a maximum baud rate of 38400. Fine for some retro kit but not with my recent Z80 MBC machine it does not work as this is set to 115200 by default. In fact, I need a switch that can handle any baud rate, so I can use my Windows 10 machine as a terminal and also for file transfer etc. So, looking on the Internet for some alternative switches, I can see many mechanical ones I could purchase… Hold on! I recall I had a small KVM switch box in the loft. It was a VGA and AT keyboard passive switcher:
I can feel some up-cycling coming on! 🙂 Looking in my box of bits I found a female 9-bin D and much like the Z80 MBC project the VGA connectors are the same size! Can lose the XT/AT keyboard adaptors and maybe use them for something else. Let the removal begin!

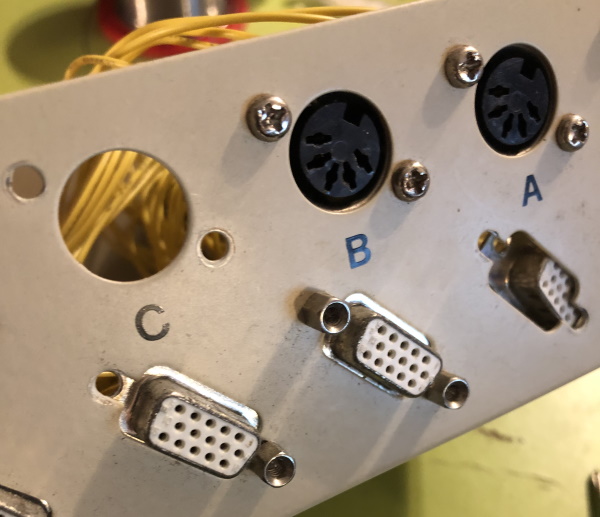
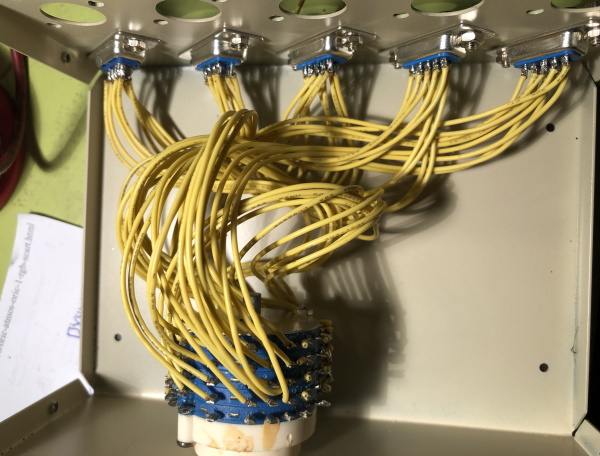
With the keyboard adaptors removed, things look much clearer. The next step is to remove the VGA sockets and replace them with the 9-pin. Firstly the common connector. It can be tricky to keep track but the easiest way is to use a multimeter and check the continuity. Get the common female connector in place first and then in each switch position solder the male connector for each position in place:
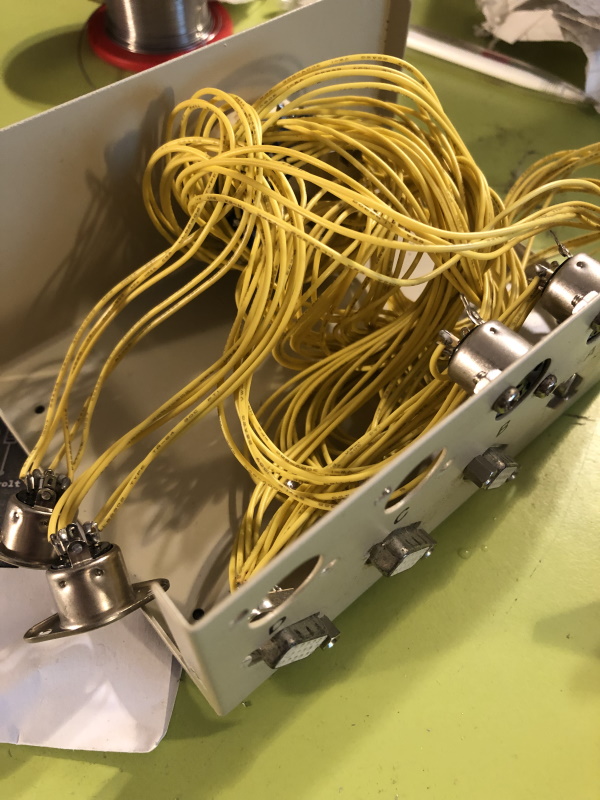
Yes there is still a ton of wires, but it is not too bad. As you go, the remaining wires not used (VGA has 15 wires) can be cut away. You get a bonus set of yellow wires for free! When done the case needs some attention. It is dirty and has stickers on the front so into the sink for a wash!
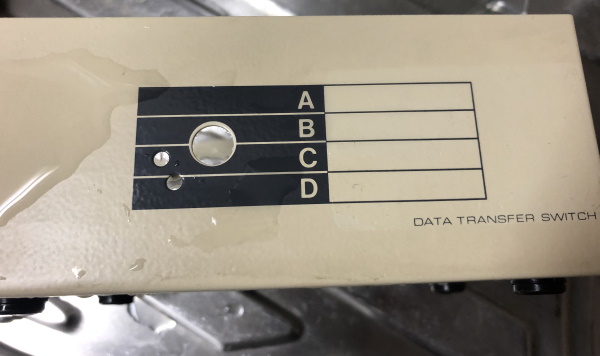
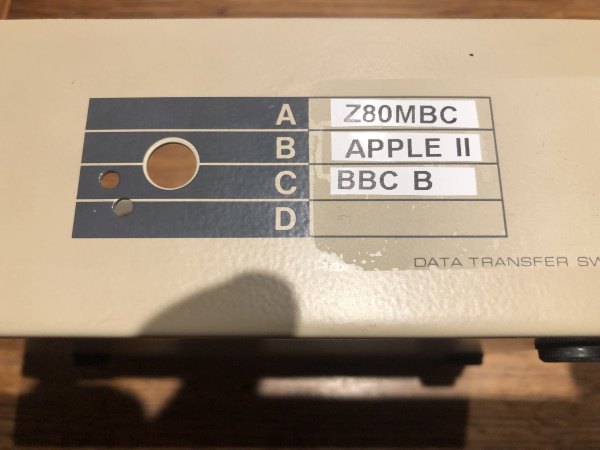
Comes up nice. I already know what 3 of the connections will be, so I am going to label them now:
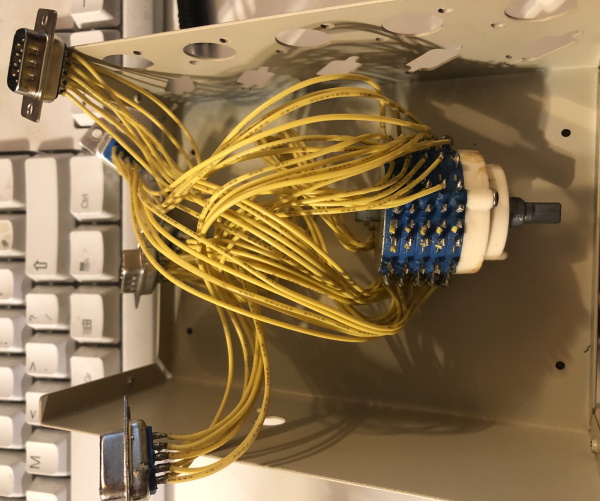
Now to assemble the mass of wires and connectors:
So the goal here is to have a 4 way switch but I will be using this on my PC so it is time to bring this puppy into the USB era!
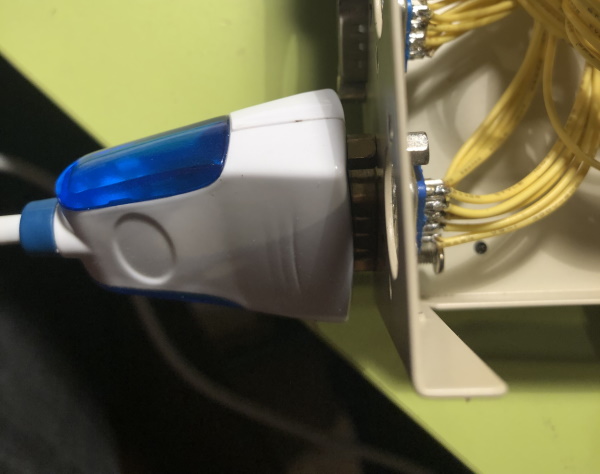
Has to remove and swap out the screw posts for this one so I can attach it securely. The rest of the sockets have the normal posts I can screw into. All looks nice and fixed.
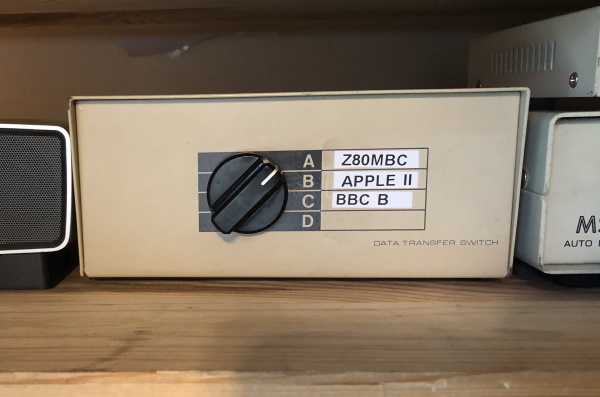
All in place on the shelf and for such an easy build it is mega useful! No plugging and unplugging cables. I have tested this with a Z80 MBC session, uploading files to the Apple I and connecting to the BBC B terminal.
I’m happy with the way this has turned out, I will probably add a flying lead onto socket D, so I can use this on other stuff in the future. (When I label that I will probably have to change the BBC B label as I cut it wrong, and it is annoying me SO much as it does not line up!)
So there you go! If you have some old kit lying about doing nothing, perhaps you can up-cycle it and make something useful!
Let me know what you build, and happy tinkering!