Remember the Sega Game Gear? Awesome! Really annoyed your mates that only had a Gameboy… But then after a couple of hours in the car the Sega has quit and the Gamebox was still working… Only stopping when it was dark! That was another thing as the Game Gear had a backlight.
Anyway. It was an amazing bit of kit with some great games.
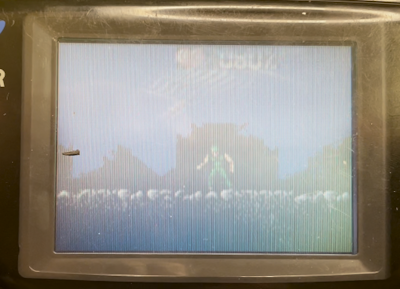
Had a poorly specimen come in for repair. It was presented with some games, a power supply and a pack of capacitors. The screen was doing the classic horizontal lines thing but also has no sound… Not sure who had diagnosed the issue or indeed who has recommended the capacitor set. Anyway, it needed some serious attention. The issue was that the screen showed bands on it when you fiddle with the contrast control and the sound was also not working:
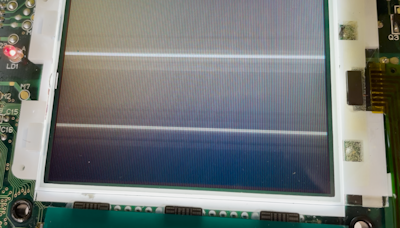
Nothing from the speaker but when you plug in earphones and crank up the volume you do hear something faint in one ear. You can in fact hear music which is a really good sign. So the processor and gam ROM must be working which is great. Perhaps the capacitor pack will fix it. Speaking of that, what is interesting is that the capacitor pack:
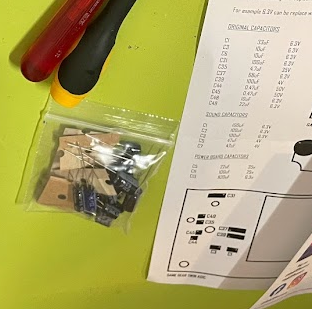
Contained a bunch of rather large electrolytics. There is a guide showing the position and orientation of these caps which is nicely presented, but I have a worry that these caps might be a little large for the case. Some of them are big.
The board separates into 3 functions:
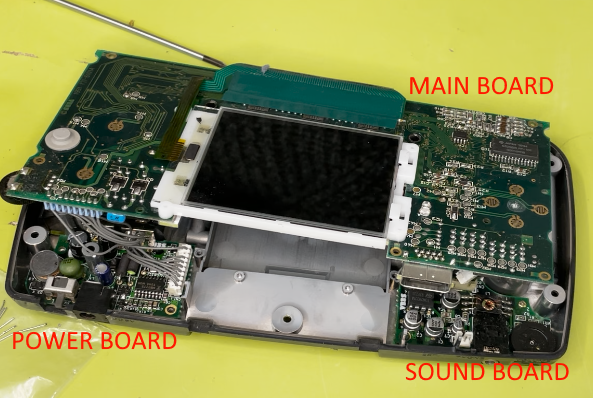
Power – Contains some larger electrolytic caps
Main board – Mostly SMC surface mount caps
Sound – Mostly SMC surface mount caps
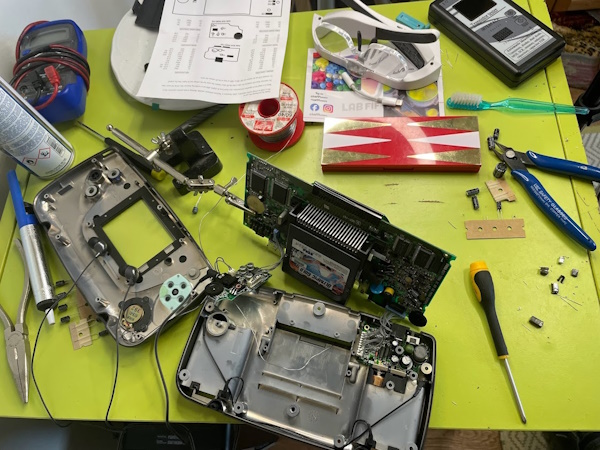
Hmmm… As you can see the amount of space in here is limited.
So the disassembly of the unit is really easy, you just need a small socket to remove the nut that holds the screen. Working on the unit is a little tricky as there are components both sides:
The boards show some signs of corrosion from the SMC capacitors:
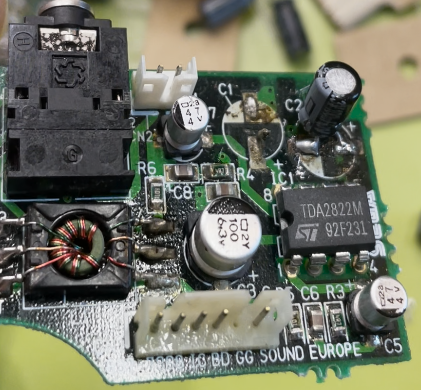
C2 has been replaced with a cap from the kit provided. It is totally the wrong type and I had to mash up the
Here you can see the discoloured stuff around C1 which is where the SMC cap has leaked:
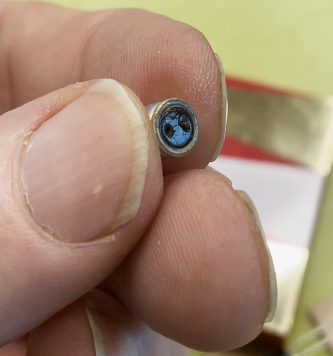
You can see the dielectric shining on the bottom of the cap.
Getting the caps in place is tricky as many of them need to be bend over and mashed into place. After a good 2 hours to fettling the unit suddently came to life:
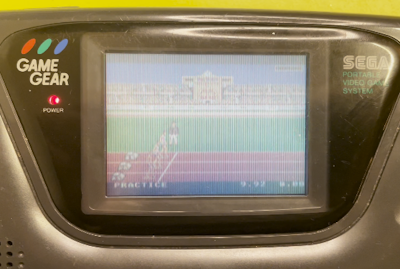
Both the sound and graphics were working fine.
The screen is a little pale but that is normal for such an old machine!
It takes me back for sure! Great fun…